Tag Archives: WebGL 2

WebGL 2 Development with PicoGL.js, Part 5: A Particle System

particles

This post is part of the series WebGL 2 Development with PicoGL.js.

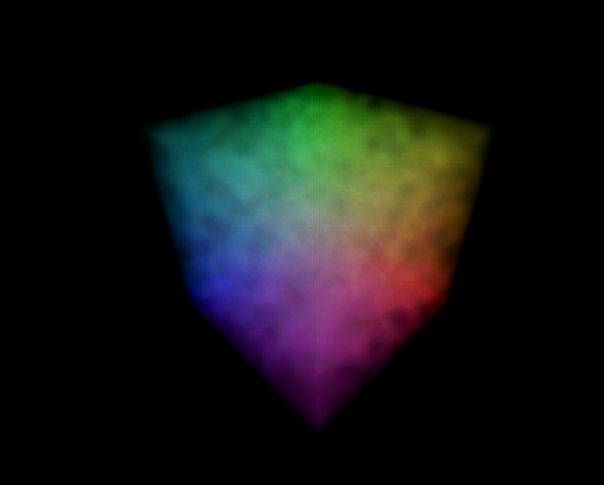
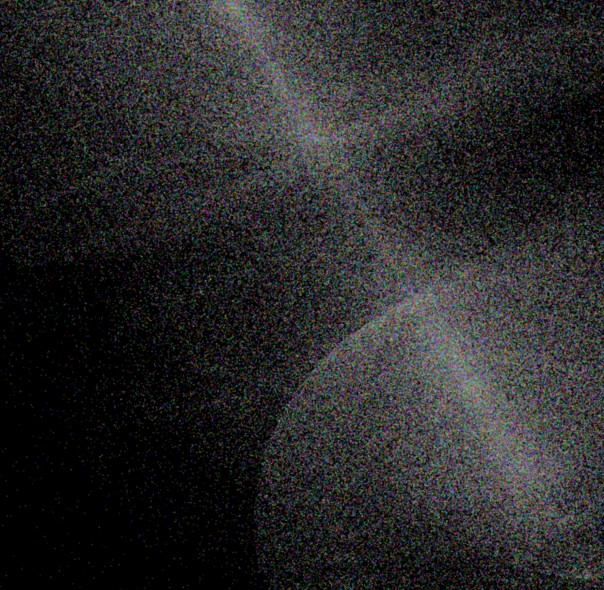
We’ve now covered all the basic drawing tools of PicoGL.js. We’ll finish off the series by using those tools to implement a simple particle system that does a gravitational simulation on the GPU using transform feedback. Our simulation will consist a large number of particles attracted to three centers of gravity. We’ll be updating our particles using the equation for gravitational accelerationg = GM/r2, where M is the mass of one of our gravitational centers, r is the distance between it and a given particle, and G is the gravitational constant.

Continue reading WebGL 2 Development with PicoGL.js, Part 5: A Particle System

WebGL 2 Development with PicoGL.js, Part 4: Transform Feedback

transformfeedback

This post is part of the series WebGL 2 Development with PicoGL.js.

In part 3, we learned how to use uniform buffers and instanced drawing to make our rendering more efficient. Transform feedback is another WebGL 2 feature that targets performance and can significantly improve the performance of animations. In WebGL 1, you would normally have to update object transforms on the CPU, which meant iterating over them serially. With transform feedback, we can capture vertex shader outputs from one frame into a buffer and use them as inputs for the next frame. This allows us to move our animation updates to the GPU, taking advantage of its massive parallelism.

Continue reading WebGL 2 Development with PicoGL.js, Part 4: Transform Feedback

WebGL 2 Development with PicoGL.js, Part 3: Uniform Buffers and Instanced Drawing

ubo

This post is part of the series WebGL 2 Development with PicoGL.js.

In the last lesson, we rounded out our core rendering toolkit with textures and framebuffers. In this lesson, we’ll look at some new WebGL 2 features that don’t introduce new functionality, but let us draw the things we can already draw much more efficiently. We’ll start with uniform buffers, which allows us to load all our uniforms into a block of memory that stays on the GPU, rather than updating them individually on each draw call. Then we’ll take a look at instanced drawing, which allows us to draw multiple copies of an object in a single draw call.

Continue reading WebGL 2 Development with PicoGL.js, Part 3: Uniform Buffers and Instanced Drawing

WebGL 2 Development with PicoGL.js, Part 2: Textures and Framebuffers

part2-a

This post is part of the series WebGL 2 Development with PicoGL.js.

In Part 1, we learned the basics of drawing with PicoGL.js:

  • We created an app.
  • We wrote some shaders in GLSL ES 3.00, and compiled them into a program.
  • We created vertex buffers to store geometry data and combined them into a vertex array.
  • We combined our program and vertex array into a draw call, which we used to draw.

In this lesson, we’re going to add two important tools to our drawing toolkit: textures and framebuffers.

Continue reading WebGL 2 Development with PicoGL.js, Part 2: Textures and Framebuffers

WebGL 2 Development with PicoGL.js, Part 1: The Triangle

triangle

This post is part of the series WebGL 2 Development with PicoGL.js.

Welcome to our first lesson! As with any graphics tutorial, the first thing we need to do is get a triangle on the screen.

Environment

First a bit of set up. To get started we’ll need the following:

  • A text editor.
  • A recent version of Chrome or Firefox.
  • The SpectorJS browser plugin for debugging. SpectorJS is an extremely powerful debugger that allows you to see all WebGL calls and all GL state that went into a given frame. For usage details, check out this tutorial.
  • PicoGL.js (minified source).
  • glMatrix (minified source). We’ll use this for the math in later parts of the series.
  • A simple HTTP server. Some easy options are:
    • Run python -m http.server if you have python 3 installed.
    • Run python -m SimpleHTTPServer if you have python 2 installed.
    • Use nano-server if you have node.js installed.

Throw the two libraries into a directory on your machine, and create an HTML file named part1.html. Run your server and navigate to the correct URL to view the page (default is localhost:8000/part1.html for SimpleHTTPServer, localhost:5000/part1.html for nano-server). It’ll just be a blank page, but we’ll fix that shortly.

Continue reading WebGL 2 Development with PicoGL.js, Part 1: The Triangle

WebGL 2 Development with PicoGL.js

3D-texture

WebGL 2 is a substantial update to the WebGL API that requires a deeper understanding of the graphics pipeline than was necessary for WebGL 1. Many of the new features require manually ensuring that handles and memory are correctly laid out so that the pipeline can use them efficiently, but this setup can fail in subtle ways that can be difficult to debug.

PicoGL.js is a small WebGL 2 library with the modest goal of simplifying usage of new features without obscuring the functioning of the GL. The constructs one works with are the constructs of the GL: vertex array objects, vertex buffer objects, programs, transform feedbacks. PicoGL.js simply provides a more convenient API for interacting with those constructs, manages GL state, and also provides workarounds for some known bugs in WebGL 2 implementations.

This tutorial series will provide an introduction to WebGL 2 development though PicoGL.js. Readers are expected to have some familiarity with WebGL 1 or another 3D graphics API. While I will try to fully describe the concepts that will be discussed, this series will be challenging for those with no graphics background. I’d recommend the Udacity Interactive 3D Graphics course or WebGL 2 Fundamentals for total beginners

This page will act as a table of contents that will be updated as the series progresses.